
DIY wind chimes are handcrafted decorative items made from natural materials like wood, shells, and stones that create soothing sounds when moved by the wind, offering a personalized and eco-friendly way to enhance outdoor or indoor spaces.
If you enjoy hands-on projects, diy wind chimes made from natural materials can brighten your surroundings in a charming and peaceful way. Ever wondered how a few simple elements can create melodic outdoor art? Let’s explore how to craft yours.
Choosing the right natural materials
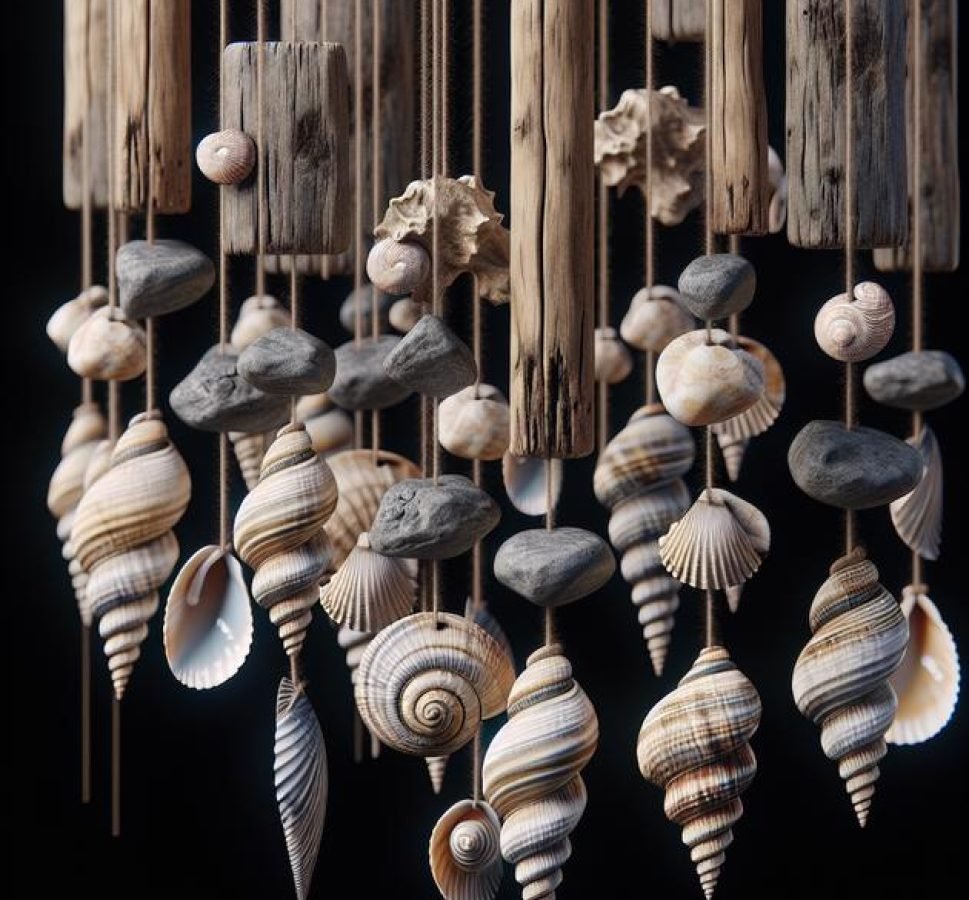
Selecting the right natural materials is key to creating beautiful and melodious diy wind chimes. Look for items like driftwood, bamboo, shells, pinecones, stones, and seed pods. These materials not only provide unique textures but also produce distinct sounds when they touch each other.
Wood and bamboo are excellent for the frame and hanging parts due to their durability and light weight. Shells and stones create soft, tinkling tones, while pinecones and seed pods add rustic charm. Collect materials that are dry and free from cracks to ensure longevity.
Natural materials with different densities and shapes allow for a variety of tones when the wind moves the chimes. Mixing textures can enhance both the look and sound of your wind chime, making it a personalized piece of nature-inspired art.
Gathering tools and supplies
Before starting your diy wind chimes project, gather all the necessary tools and supplies to ensure a smooth crafting process. Essential tools include a hot glue gun, a drill with small bits, scissors, and strong string or fishing line for hanging the pieces together.
For supplies, have a selection of natural materials like wood sticks, shells, stones, and bamboo handy. Additionally, small metal washers or bells can add pleasant sounds and decorative flair. A ruler or measuring tape will help you cut strings evenly and maintain balance.
Organizing your workspace is also important. Lay out all materials and tools in an accessible area to avoid interruptions while crafting. Having a container or basket to hold smaller items can keep things tidy and efficient.
If you prefer eco-friendly options, consider using recycled materials or natural cords such as jute or hemp for stringing. This adds to the natural vibe of your wind chimes and helps reduce waste.
Preparing materials for crafting

Preparing your natural materials properly is essential for crafting durable and attractive diy wind chimes. Start by cleaning items like wood, shells, and stones to remove dirt and debris. Use a gentle brush and water, then allow each piece to dry completely to avoid mold or decay.
If you choose wood or bamboo, consider sanding rough edges to prevent splinters and create a smooth surface. Sanding also helps the glue or string grip better during assembly.
For pieces that will hang or connect, carefully drill small holes where strings or wires will pass through. Choose drill bits that match the size of your cord, ensuring the holes are not too big to keep the components secure.
Sort your materials by size, shape, or sound quality to make the assembly process easier. Organizing your pieces beforehand allows you to visualize how your wind chime will look and sound once completed.
Simple techniques to assemble wind chimes
Assembling your diy wind chimes is a rewarding step where creativity meets craftsmanship. Begin by deciding the layout for your pieces, such as arranging lighter materials like shells or bamboo at the ends and heavier ones like stones near the center for balance.
Use strong, durable cord or fishing line to string your materials. Measure and cut lengths that allow for gentle movement and tinkling sounds without tangling. Double knots ensure your pieces stay secure during windy days.
Attach materials to the main frame, such as a piece of driftwood, by threading the string through drilled holes or wrapping it tightly. Hot glue can add extra hold if needed.
Spacing is important: leave enough room between elements so they can move freely and create pleasing sounds. Adjust lengths as you go to find the best harmony and balance for your wind chime.
Finally, add a hanging loop at the top for easy placement outdoors. This simple setup lets the wind create natural melodies with your handcrafted chimes.
Adding decorative touches
Adding decorative touches to your diy wind chimes lets you personalize your creation and enhance its beauty. Consider incorporating natural elements like feathers, beads made from wood or seeds, and colorful stones for visual interest.
Use thin wire or string to attach these accents securely to the chimes. You can also paint or stain wooden parts to add subtle color that blends well with nature.
Experiment with layering different textures and shapes. For example, tie small clusters of feathers above shells or hang tiny bells alongside stones to create varied sounds and an eye-catching design.
Ribbons or strips of fabric can add movement and a splash of color as they flutter with the wind. Choose materials that weather well outdoors to maintain their charm over time.
Remember to balance decoration and sound functionality, ensuring your additions do not weigh down the chimes or block their movement.
Best places to hang your wind chimes

Choosing the best place to hang your diy wind chimes is important to enjoy their soothing sounds and beauty. Look for spots where gentle breezes flow, like near windows, porches, patios, or garden trees.
Outdoor areas such as decks or balconies work well because they catch the wind easily and add charm to your space. Avoid hanging them in very windy locations where strong gusts might damage the chimes.
Inside the home, hanging wind chimes near open windows or doors allows air to move freely and creates relaxing sounds. You can also place them in sunlit corners to highlight their decorative elements.
Consider height and safety—hang your wind chimes high enough to avoid being a hazard, but low enough to appreciate their visual appeal. Using hooks or sturdy branches ensures secure placement.
Experiment with different locations until you find the perfect spot that blends sound, sight, and environment harmoniously.
Maintaining and caring for your wind chimes
Maintaining your diy wind chimes helps keep their beauty and sound clear over time. Regularly check for dirt, dust, or spider webs and gently clean the chimes with a soft cloth or brush.
For wooden or bamboo pieces, apply a protective natural oil or sealant occasionally to prevent cracking and weather damage. Metal or shell parts can be wiped with a damp cloth to remove buildup.
Inspect strings and connections frequently for signs of wear or loosening. Replace or tighten strings as needed to avoid pieces falling off during windy days.
During extreme weather like heavy rain or storms, consider taking the wind chimes indoors or placing them in a sheltered area to protect them from damage.
Proper care not only preserves their look but also ensures your wind chimes continue to produce gentle, relaxing sounds for years.
Creative ideas to personalize your wind chimes
Personalizing your diy wind chimes adds a unique touch and makes them truly your own. Consider using painted wood pieces with bright colors or patterns that reflect your style or favorite themes.
Incorporate meaningful items like old keys, sea glass, or small charms that tell a story or represent memories. These personal elements create sentimental value as well as visual appeal.
Try combining various materials for an eclectic look—mix metal, stone, and natural fibers to add depth and contrast. Adding small LED lights or glow-in-the-dark paint can create a magical effect at night.
You can also experiment with different shapes for your wind chimes’ frame, such as circles, triangles, or custom designs using recycled items like bicycle wheels or driftwood branches.
Finally, don’t hesitate to add scents by attaching small sachets with dried flowers or herbs that release fragrance with the breeze, making your wind chimes a full sensory experience.
Bring Nature’s Music to Your Space
Creating diy wind chimes from natural materials is a fun and rewarding way to add charm and peaceful sounds to your home or garden. With simple tools, thoughtful preparation, and a touch of creativity, you can craft wind chimes that reflect your personal style and connect you with nature.
By choosing the right materials, assembling carefully, and caring for your wind chimes, they’ll continue to bring soothing melodies for years to come. Why not start your project today and enjoy the calming beauty of handcrafted natural wind chimes?


