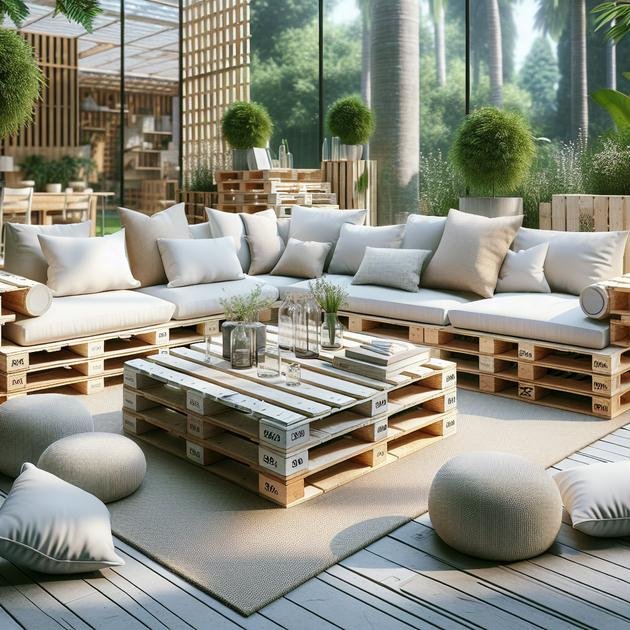
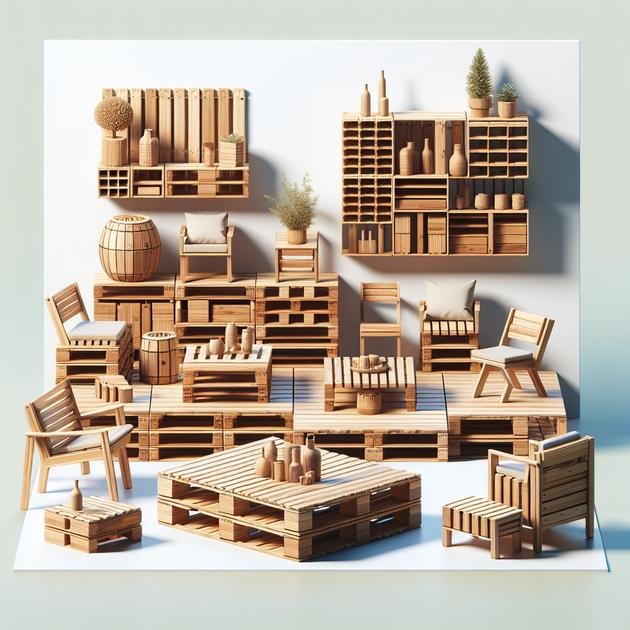
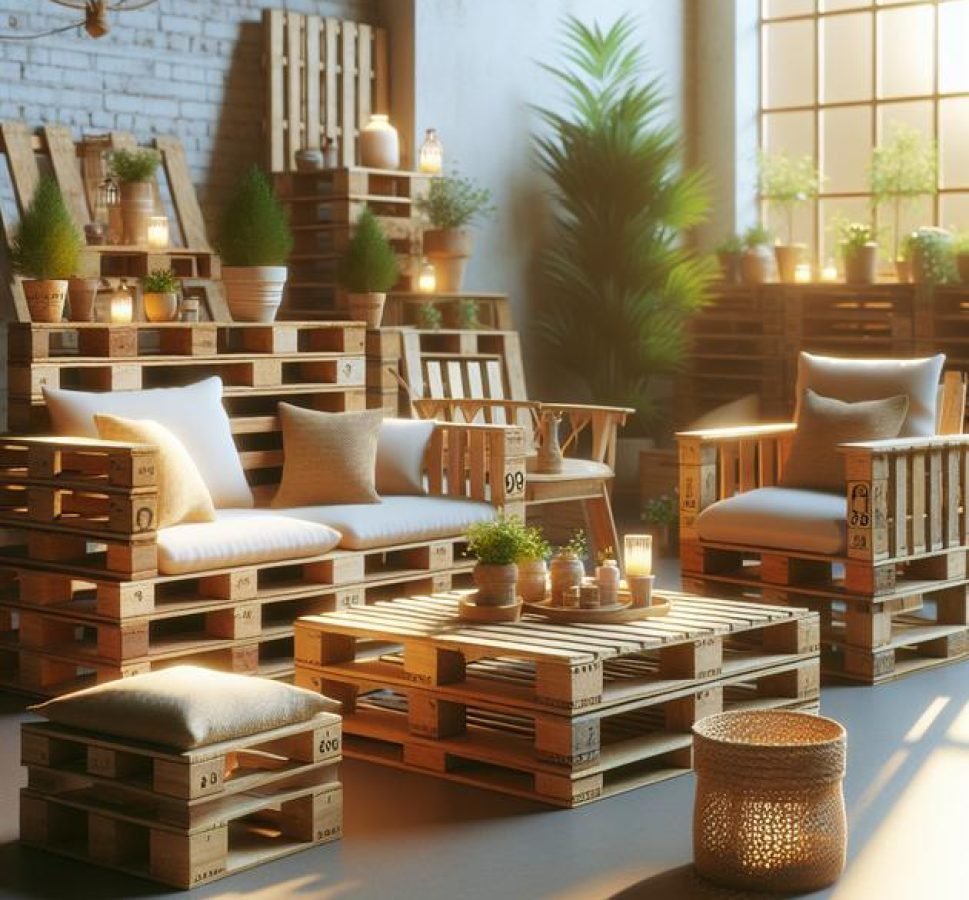
DIY pallet furniture allows you to create stylish, budget-friendly home pieces by repurposing wooden pallets into functional items like sofas, coffee tables, and shelves, combining creativity with sustainability.
Ever wondered how diy pallet furniture can transform your living space? Dive into these creative ideas and see how you can upcycle wooden pallets into stunning decor.
essential tools for diy pallet projects
When embarking on diy pallet furniture projects, having the right tools at your disposal is critical. You’ll need a hammer and a crowbar for dismantling pallets, as these are essential for separating the wood without causing damage. A saw, either manual or electric, is necessary to cut the pallets to the desired size and shape. For ensuring precision in your cuts and measures, a measuring tape and a square are indispensable.
Power Tools and Safety Gear
Consider using power tools for efficiency, such as a drill for making holes and driving screws into the wood. An orbital sander will help smooth out rough edges, giving your furniture a polished finish. Safety is paramount, so don’t forget your protective gear like gloves, goggles, and a dust mask to protect against splinters and dust.
Aside from these tools, keep some nails, screws, and wood glue handy as they are vital for assembling your furniture. With the right set of tools, your pallet furniture projects will not only be manageable but also safe and enjoyable.
how to choose the right pallets
Choosing the right pallets is the cornerstone of any successful diy pallet furniture project. Begin by identifying the type of wood used in the pallets. Look for hardwood pallets as they tend to be more durable and resilient. Common types include oak and maple.
Inspecting for Quality
Ensure the pallets are in good condition. Avoid pallets with visible stains, cracks, or signs of mold, as these can compromise the integrity of your project. Inspect each pallet for missing or damaged boards and choose ones that look solid.
Check for stamps or markings that indicate the treatment used. Opt for pallets with an HT (heat-treated) stamp since they are heat-sterilized and safe for crafting furniture. Avoid pallets marked with MB as they have been treated with methyl bromide, a toxic chemical.
Think about the size and shape required for your project. Pallets are available in various dimensions, so select ones that fit your specific needs, considering the space and design of your finished piece.
prep and safety tips for pallet furniture
Preparing your pallets properly is essential for both safety and quality when creating diy pallet furniture. Before you start building, ensure that each pallet is clean. Use a scrub brush with soap and water to remove dirt and debris, then let the wood dry completely.
Sand and Smooth the Surface
A crucial step is sanding the pallets to smooth out rough edges and splinters. This is especially important for furniture that will have frequent contact with people. An orbital sander can make this task quicker and more efficient.
Inspect the pallets for protruding nails. Remove any loose or bent nails and replace them with new ones to maintain the structural integrity of the wood. Proper handling of tools and materials is important to avoid injuries during this process.
Safety Precautions
While working on your pallet project, prioritize safety by wearing protective gear. Put on gloves to protect your hands from splinters and goggles to shield your eyes from dust. A dust mask will prevent you from inhaling any fine particles while sanding.
creating a pallet coffee table

Crafting a pallet coffee table can add rustic charm to your living space. Start by selecting two or more sturdy pallets. These will form the top and bottom layers of your table, with the option of adding more for desired height. Ensure the pallets are thoroughly sanded to remove splinters and rough edges.
Assembling the Table
Place the pallets on top of each other, aligning them carefully. Use screws to secure them in place for added stability. Attach caster wheels to the bottom corners for mobility, making your table easy to move around.
For a polished look, consider adding a glass top. Measure the pallet dimensions to guide your glass sizing. The glass will not only protect the wood but also add a sleek finish. You can use felt pads or silicone bumpers to keep the glass steady and prevent scratches.
Finishing Touches
Stain or paint your pallet table to match your decor style. Finish with a clear sealant to protect the wood from spills and wear. Personalize it with different shades or patterns to make it truly unique.
building a pallet bench with storage
Building a pallet bench with storage is an excellent way to combine seating and functionality. Begin by selecting sturdy pallets, ensuring they are clean and free of damage. You’ll need three pallets: one for the bench seat, one for the backrest, and one to create the storage compartment underneath.
Constructing the Base
Position one pallet horizontally to form the bench seat. Use another pallet vertically as the backrest, securing them with brackets and screws to ensure stability. The third pallet should be cut to fit as a storage area beneath the seat, or use it to create a hinged seat that lifts up for storing items.
Reinforce the edges of the storage area with additional wood slats from disassembled pallets for a neat finish. Secure any loose boards, ensuring that the bench is stable and robust.
Adding Comfort and Style
Sand the entire structure to smooth out rough edges, then paint or stain the bench to your liking. Adding cushions or a durable fabric cover can enhance comfort, making the bench a welcoming spot in your garden or entryway.
designing a rustic pallet headboard
Designing a rustic pallet headboard can transform any bedroom into a cozy retreat. Start by selecting a few high-quality pallets, ensuring they are straight and free from major damages. Disassemble the pallets carefully to obtain individual planks, as these will form the headboard’s face.
Arranging the Planks
Lay the planks side by side to create the desired width for your headboard. Your layout can include varying lengths for a more rustic effect or uniform sizes for a symmetrical appearance. Use a backing board to secure the planks in place with screws.
To achieve a weathered look, sand each plank thoroughly. You can distress them further by lightly tapping with a hammer or using a wire brush. Finish with a wood stain or paint in your choice of color to enhance the rustic charm.
Mounting and Finishing Touches
Mount the headboard securely to the wall or attach it directly to your bed frame, depending on your preference. Add decorative elements like fairy lights or metal accents for a personalized touch. Updating your linens with complementary colors can complete the rustic aesthetic.
steps to a cozy pallet sofa
Creating a cozy pallet sofa for your space can be both fun and functional. Begin by selecting several strong pallets of the same size. These will form the base and backrest of your sofa. Arrange two to three pallets on the ground to determine the desired seating height, securing them with screws for stability.
Constructing the Backrest
Use additional pallets to form the backrest. Attach them vertically to the back of the base section using brackets and screws. For added comfort, you might lean the backrest at a slight angle.
Add cushioning for a relaxed seating experience. Thick foam pads covered with durable fabric or decorative cushions can enhance comfort and style. Use slipcovers in coordinating colors or patterns to match your decor.
Finishing and Personal Touches
Sand the exposed edges of the pallets to ensure a splinter-free finish. Paint or stain the pallets to your preferred color, sealing them to protect the wood and enhance durability. Finalize your sofa with cozy blankets or additional throw pillows to make your pallet sofa the ultimate lounging spot.
hanging pallet wall shelf ideas

Hanging pallet wall shelves can add a rustic touch to any room while providing practical storage space. Start by selecting a pallet section of suitable size, ensuring it is sturdy and free of damage. Sand the wood to remove rough edges and splinters.
Designing Your Shelf
Decide on the number of tiers you want for your shelf. You can use additional pallets or wood planks to create extra levels. Attach these securely using screws or brackets to ensure they can hold weight.
Install hooks or small pegs to hang items like keys or accessories. Adding these features will increase the functionality of your shelf, making it ideal for entryways or kitchens.
Installation and Finishing
Mount the shelf on your wall using anchors or sturdy brackets. It’s important to ensure the fittings can support the weight of your shelf plus any items you’ll store on it. Finish by painting or staining the shelf to your preferred color, adding a sealant if needed to protect against moisture and dust.
outdoor pallet furniture for your garden
Transform your garden with outdoor pallet furniture that combines style and sustainability. Start by choosing pallets made from durable wood that can withstand outdoor elements. Treat the pallets with a weatherproof sealant to guard against moisture and sun damage.
Crafting the Furniture
Consider creating a simple pallet garden bench by stacking two pallets for the seat and using additional wood for the backrest. Secure the structure with screws and add arms if desired. Design a matching coffee table by stacking pallets to the desired height and topping with a tempered glass sheet for a smooth finish.
For more seating, construct pallet garden loungers by arranging pallets flat, adding legs if necessary for elevation. Use sturdy connectors to ensure the structure is stable and safe.
Adding Comfort and Style
Enhance the comfort of your outdoor furniture with weather-resistant cushions. Opt for bold patterns or vibrant colors to liven up your garden space. Incorporate elements like cushions or throws for added coziness.
painting and finishing tips
To achieve a professional look on your pallet project, follow these painting and finishing tips. Begin by thoroughly sanding the pallets to create a smooth surface. This step is crucial for ensuring the paint adheres properly. Remove dust and debris with a clean, dry cloth before applying any finishes.
Choosing the Right Paint
Select a paint designed for wood surfaces and suitable for indoor or outdoor use according to your project’s needs. Latex-based paint is ideal for quick drying and easy cleanup, whereas oil-based paint provides a durable finish. Apply a coat of primer first to enhance the paint’s color and adherence.
Use a quality brush or roller for even strokes, and consider a spray paint for intricate areas hard to reach with a brush. Start with a light coat, allowing it to dry completely before applying subsequent layers. For brighter and even tones, apply two to three thin layers instead of one thick coat.
Sealing and Protecting
Once the paint is dry, seal your furniture with a clear varnish or polyurethane to protect against moisture and wear. For outdoor pieces, ensure the finish is UV resistant to prevent fading. Buff the varnish with fine steel wool between coats for a smoother finish.
diy pallet furniture on a budget
Creating diy pallet furniture on a budget is both achievable and rewarding. Start by sourcing free or low-cost pallets from local businesses or online marketplaces. Many companies are willing to give away pallets that are no longer needed, providing a cost-effective material for your projects.
Essential Tools and Materials
Invest in basic tools like a hammer, saw, and drill which are fundamental for most pallet projects. Look for second-hand or discounted tools to minimize costs. Reuse nails and screws from dismantled pallets to save on buying new hardware.
Consider using leftover or recycled materials for enhancements such as cushion fillings or upholstery from old furniture. This approach not only reduces costs but also promotes sustainability.
Simple and Stylish Projects
Focus on projects that require minimal resources but offer high functionality, such as pallet coffee tables, benches, or shelves. Use paint or stain remnants from previous projects to add a fresh look to your furniture without purchasing new products.
Embrace the Beauty of DIY Pallet Creations
DIY pallet furniture offers limitless possibilities for transforming spaces both indoors and out. With a little creativity and basic tools, you can build beautiful, functional pieces that express your style while being kind to your wallet.
From cozy pallet sofas to rustic headboards and budget-friendly garden furniture, the options are boundless. Each project encourages sustainable living by reusing materials.
Not only do these creations add character to your home, they also provide the satisfaction of crafting something by hand. Dive into the world of DIY pallet furniture and discover the joy of creating unique, custom pieces for your space.


