
In this guide, seed starting schedule; you’ll learn simple steps to get seedlings off to a strong start, from choosing containers to timing your sowing. As you try these ideas, you’ll see what works best in your space and climate.
Understanding seed starting schedules
Understanding seed starting schedules helps gardeners plan sowing times to maximize germination and steady growth. By matching crop needs with your climate, you reduce failures and get healthier transplants.
Key timing considerations
Know your last frost date and the typical days to germination for your seeds. Start indoors a suitable number of weeks before transplanting, then move seedlings outside when the weather is warm and the days are long.
Monitor soil temperature and moisture. Some seeds germinate best in warm soil, others prefer cooler roots. Use clear labels and a simple calendar to track sowing dates, germination progress, and transplant readiness.
Practical setup matters: use shallow trays for quick germination, lightweight soil mix, and a consistent light source. Keep conditions steady and avoid overwatering to prevent damping off and stunted growth.
As you gain experience, adjust your schedule for your space and season. Recording what works in a small notebook or spreadsheet helps you refine the plan each year.
Choosing seeds and timing for your region

Choosing seeds and timing for your region helps gardeners align seed choices with local climate, boosting germination and successful transplanting. Understanding your seed starting schedule helps you plan sow dates more accurately and avoid wasted starts.
Know your climate and season length
Identify your area’s average last frost date and the length of your growing season. This information guides when to start indoors, when to move seedlings outside, and which crops fit your window.
Match seeds to your region
Choose varieties that perform well in your climate and day-length. Look for terms like short-season or cool-season on seed packets to match your area’s restrictions.
Plan flexible sowing windows
Create a simple sowing calendar that accounts for expected weather, indoor starting times, and seedling hardening. Label everything clearly, track germination, and adjust as needed for your space and season.
Germination setup: containers, soil, and light
Germination setup: containers, soil, and light provides the foundation for reliable seed emergence. With the right containers, an airy soil mix, and proper light, seeds sprout strongly and evenly.
Container options
Choose shallow trays or plug trays so roots develop quickly. Ensure drainage holes are present and avoid overly large containers for small seeds. If you use humidity domes, remove them gradually as seedlings establish.
Soil mix and preparation
Use a light, well-draining seed starting mix. Moisten the mix before filling trays, and avoid heavy soils that stay soggy. Label each batch to keep track of sow dates and seed types.
Light and placement
Provide bright light from a sunny window or a dedicated grow light. Keep lights about 2-3 inches above the trays and extend daily light to 12-16 hours for most veggies. Rotate trays to keep growth even.
Watering and humidity management
Keep surface evenly moist, never soggy. Water from the bottom when possible or use a gentle spray to avoid washing seeds away. Monitor humidity to prevent mold and damping-off.
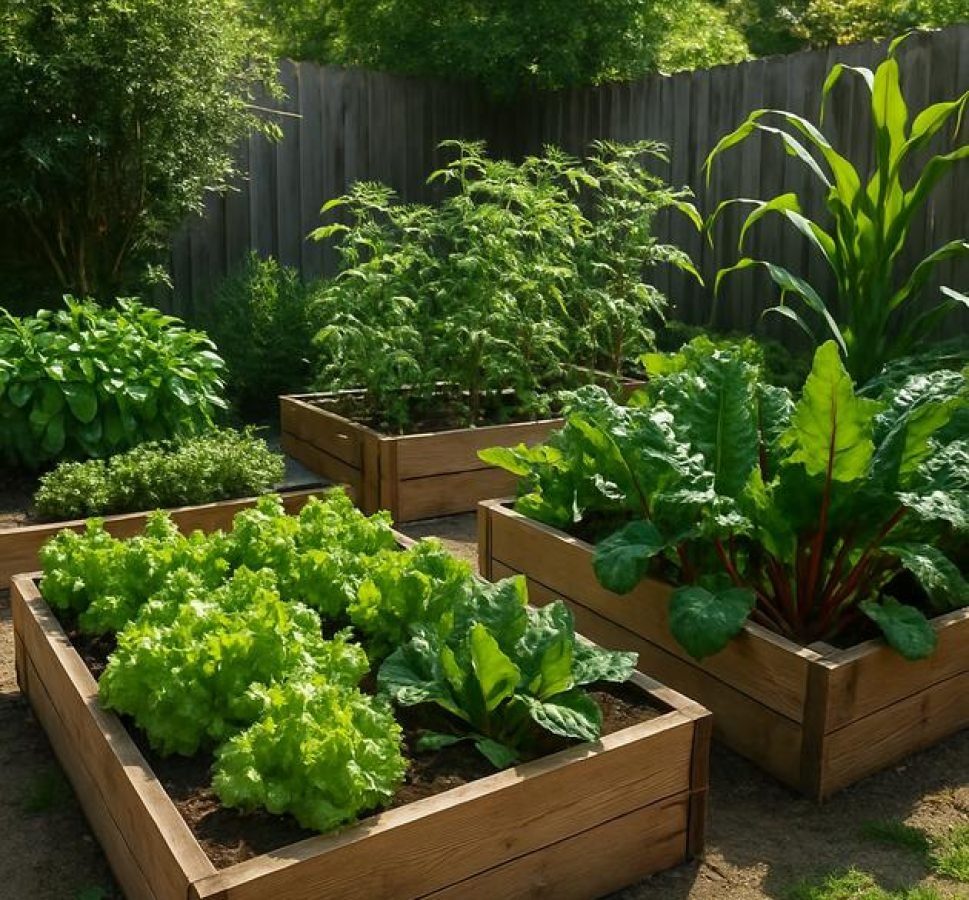
From sprouts to transplant: care and schedule adjustments

From sprouts to transplant: care and schedule adjustments outline practical steps for moving seedlings from indoors to outdoor beds, focusing on timing, acclimation, and ongoing care to support healthy transplants.
Transplant readiness indicators
Look for sturdy stems, healthy green color, and roots that fill the pot without circling. When ready, seedlings should handle a gentle lift without wilting. Avoid transplanting during heat waves or freezes.
Hardening off process
Begin with a short outdoor exposure, gradually increasing each day. Shield seedlings from strong sun and strong winds at first, then extend time outdoors as plants acclimate.
Transplanting steps for success
Prepare beds or pots with good soil and moisture. Gently lift seedlings by their leaves, plant at the same depth, water deeply, and mulch to conserve moisture. Maintain proper spacing to reduce competition.
Monitoring and adjusting your schedule
Track growth, adjust watering and feeding, and update your seed-start calendar to reflect transplant timing. If a crop grows slowly, shift its transplant window in the next season.


